What Actually is a Screen Print?
Share
Featured Screenprint: “Believe You Can”
Most people get really confused about what a screen print actually is, so I’ll try to explain this complicated process as simply as possible!
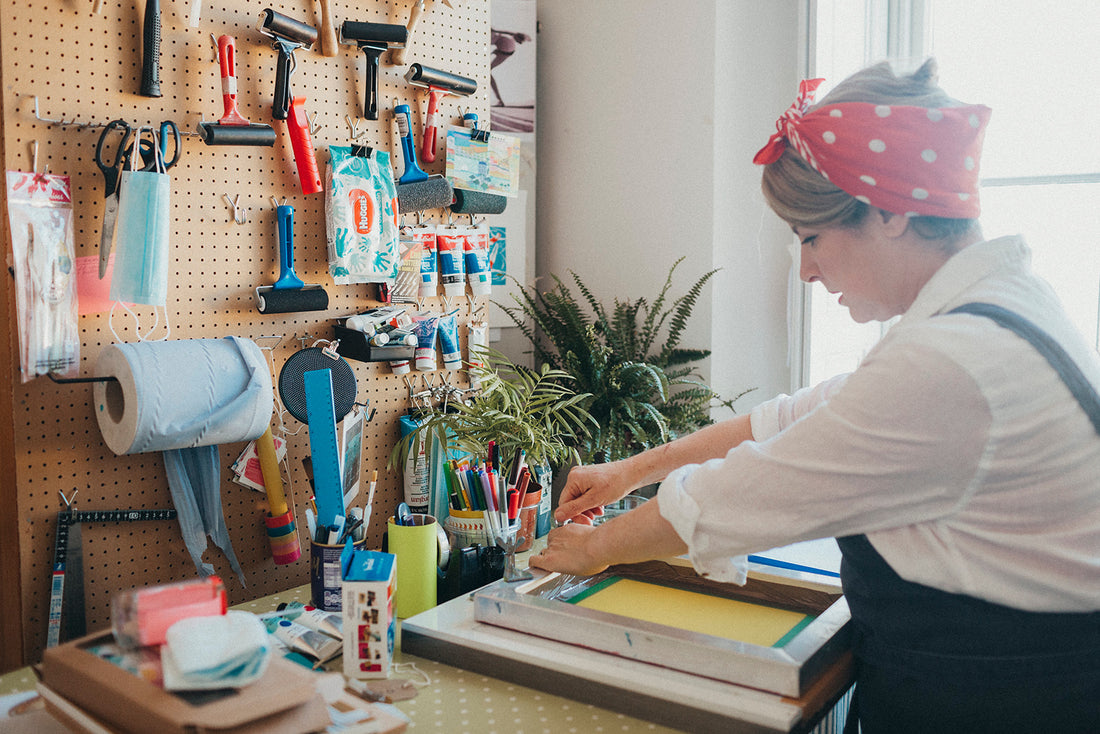
A screen print (also called a “silkscreen” print) is a hand-made print created by the artist herself in a studio, (not by a commercial printing company) usually as one of a set of limited-edition prints.
A hand-made (or “pulled”) screen print is regarded as an “original hand-pulled print” because of the direct and intense involvement of the artist. Each one will be slightly different from the next. That’s why they’re called original screen prints, making them highly collectable and worth much more than a commercially printed giclee print.

Each individual colour in the print is printed separately, left to dry, and each following colour is printed on top in sequence.
In a world where we are all used to digital printers in our own homes, we can print images at just the click of button and all the colours are printed all at the same time within seconds.
We can even go online and order thousands of business cards or leaflets to be printed next day, so it’s hard to imagine the intensive (back-breaking!) business of an artist physically printing an image over and over by hand, often over a period of many days.
A brief history of screen printing
- Screen printing was invented around 1900, originally to create images for the advertising industry.
- In the mid to late 20C it was adopted by the American Pop Art movement to create original art prints.
- Andy Warhol’s infamous prints of Campbells soup cans, Marilyn Monroe, and Queen Elizabeth are all screen prints.
How is a screen print made?

- First the image for the print is designed by the artist: this could be inspired by the artist’s sketches, photography, writing and thoughts. If the print will be of more than one colour, the artist then has to work out which areas of the image will be in which colour.
- A stencil (think of a stencil for walls or furniture) is then created for each of the colours to be used in the print e.g.one stencil for orange, one for red, one for blue and any other parts of the print will remain white.
- The stencil for the first colour is attached to a “screen”: a very fine tightly woven fabric stretched over a wooden or aluminium frame.
- The heavy-quality paper to be printed on is placed underneath the screen.
- An espresso-sized cupful of very thick ink (similar to acrylic paint in consistency) say blue, is poured onto the screen, and then dragged using a stiff squeegee (this is something like a very large, stiff, industrial version of a squeegee you would clean your shower glass with,) in a thin layer across the screen. This pushes the orange ink through the hole in the stencil in a very thin, smoothly applied layer and is then left to dry naturally.

- Each successive colour needs to have a new clean, dry screen with the stencil for each particular colour applied to it, and then all the paper prints with just blue on them will have the next colour printed on top. If a screen print has three different colours in it, say, orange, red and blue, then all the prints in the print run will be printed with the orange first, then dried. Red will then be printed on top and dried, followed by the final colour of blue.
- A very skilled screen printer can not only print these colours next to each other, but will overlay these colours to create more colours, e.g. orange printed on top of blue will create brown; red on top of blue will make purple, etc.
- The whole process of screen printing is both enjoyable, technical and time consuming, at times can often be quite mind boggling and for someone like me can be very messy! 😊 (But also immensely satisfying…)


I really hope you enjoy looking at my screen prints as much as I enjoy making them….

